EXPOSED: Taking Astronomical Pictures
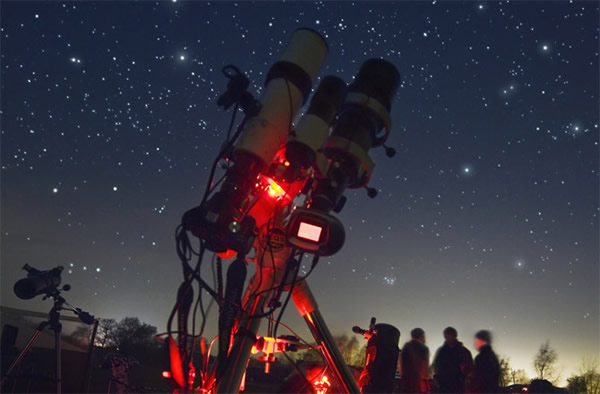
A telescope rigged for astro-photography at a star party in Herefordshire, UK.
We are constantly wowed by stunning astronomical images of the night sky and I am often asked what kind of telescope should be bought to take pictures like that. Strangely, I'm not often asked what is the best camera to get, or which filter wheel, or even which guiding solution!
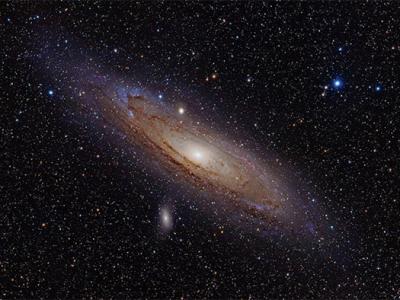
Some pictures of the night sky can be relatively easy to capture, but the beautiful deep sky images of galaxies or nebula can be pretty darned tricky. This short article won't tell you how to do it but instead will explain some of the things to think about to point you in the right direction.
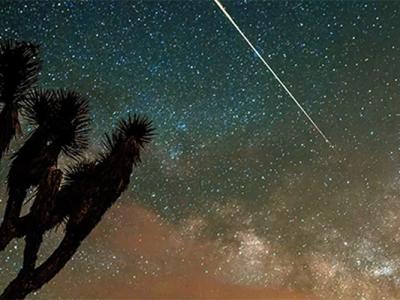
If you have a digital SLR camera then you can get nice pictures of constellations or star trails by mounting the camera on tripod and choosing a wide aperture and appropriate exposure -- no telescope required! You might also get the odd meteor or satellite or maybe even capture an aurora display with this technique.
Any images that require the magnification of a telescope means that things start to get a little complicated, however.
One neat trick to get brilliant images of the planets is to mount a standard webcam onto a telescope to capture good quality video recording and then use easily available software to turn the video into a single image. This technique doesn't require a particularly accurate telescope drive system but if you want to capture deep sky objects, things start to get tricky.
The Earth spins on its axis once every 24 hours and a telescope magnifies this spin, so any astronomical object will slowly drift through the field of view.
So first things first, you will need an equatorial telescope mount with a good drive system. An alt-az system with drives will cause the object to slowly rotate in the field of view so an equatorial mount is the easy solution, ideally one that has an input from a guiding system of some sort.
The drive will be pretty good but there will be tiny imperfections that will cause it to speed up or slow down a little making the target move around, blurring the image. You can eradicate this with a guiding system that constantly monitors a 'guide' star for any movement and sends instant corrective action to the drive system through its guiding input.
With the mount sorted, you need to get the right camera for your telescope! You can stick any camera on the back, but matching the camera to the telescope is essential to get the best out of it. The two key things to consider are resolution (or ability to record fine detail) and field of view (how much of the sky is captured by the camera).
There are two really simple formulae to help work this lot out:
(206.265/focal length of telescope in millimeters) x size of pixels in microns
This will give you the arc seconds (symbol is ") per pixel and to ensure the guiding system doesn't have too hard a job of it, this needs to be around 1.5" per pixel to 2.5" per pixel.
The second formula is:
(chip size in mm x 3438 ) / telescope focal length in millimeters
This will need to be done twice for each of the dimensions of the chip as they are usually not square in shape. You will end up with two figures that gives you the arc minutes (symbol ') on the sky that each dimension covers.
For example, if I used a chip with 5.4 micron pixels and chip size 17.6mm x 13.52 on a telescope with a focal length of 545mm then I would get a resolution of 2.04" per pixel and a field of view that measures 111' by 85'.
Changing focal length or chip size/pixel size will change the quality of the photograph so you need to consider these numbers and also how they match the objects you wish to take images of. A longer focal length or smaller chip size will mean you have little chance of capturing larger objects in the sky.
With all of this in mind, you then have to consider whether to go for a mono-camera or a one shot color. There are pros and cons for each but you can still get color shots from a mono camera by using a color filter wheel. This allows you to take individual shots through a red, blue and green filter (and others) and later combine them with software. This does give you far more flexibility but takes more time. One shot color camera's are great for quick results but the level of detail won't be as good.
As you can see, taking deep sky images is a can of worms to the unwary. Spend time thinking about it and gearing up your equipment before slapping a DSLR on the back of your telescope and wondering why it's not going quite as you planned! If you're ever in doubt, consult your local astronomy club, they will be a great resource when deciding on making the investment in astrophotography.
Good luck!(May 21, 2013 12:21 PM ET // by Mark Thompson)