The Secret to Great Astronomical Photography
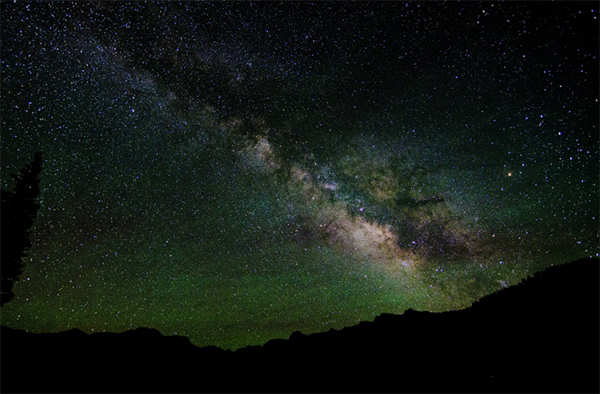
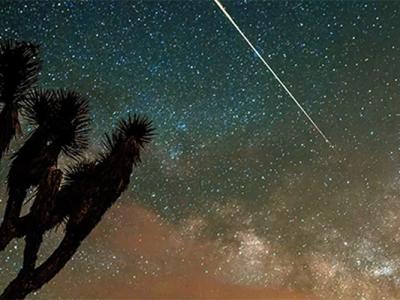
Astrophoto by Kennan Ward of the Milky Way over California.
We are constantly being wowed by stunning space imagery from amateur and professional astronomers alike. There is clearly a lot of skill in acquiring these pictures and a great knowledge of image processing is critical for success. However, the one task that is key to master is that of "polar alignment."
I remember when I was new to astronomy and the thought of polar alignment struck fear into my heart, but getting an accurate alignment of your telescope to the axis of rotation of the Earth is actually quite simple and essential for excellent astronomical images.
Getting good polar alignment is a two stage process:
Step 1: Get it Rough
The object of rough polar alignment is to get the mount set up so that it is approximately aligned; this will generally be enough for visual work but is also a necessary step to make the precise polar alignment phase easier.
Identify your telescopes declination axis and take a close look to find the scale around it from 0 to 90 degrees. Rotate the telescope about this axis until it’s at 90 degrees. It should now be roughly pointing along the polar axis.
Now you need to adjust the angle of the whole mount so it is the same as the latitude at your location and for that, equatorial mounts have a latitude scale. So, the next step is to adjust the latitude scale to equal the latitude of your observing site. Your telescope mount should now be pointing roughly in the right direction.
Next, wait for nightfall and identify Polaris, the Pole Star. Polaris is easy to find in the night sky -- follow the two pointer stars in the bowl of the Plough (part of the constellation Ursa Major). Now move the entire telescope mount so the telescope tube is pointing toward Polaris.
If you have set the mount up correctly, then Polaris should be visible in the field of view of the finder telescope. Now you just need to make minor adjustments to the mount by adjusting its left-right position and your latitude setting to center Polaris. Assuming your finder telescope is aligned well, then you should now see Polaris in the field of view of an eyepiece. Your telescope is now roughly polar aligned and that will be enough for visual observing.
Step 2: Accurate Alignment
Assuming your goal is long exposure imaging, then it is worth spending time getting your mount precisely polar aligned. The first time you do this, expect to spend an hour or two fiddling around, but you will soon get it down to a fine art. Time spent here is worth while and the benefits will be gained in the quality of your final images.
The technique relies on observing the drift of stars through the eyepiece and slowly fine tuning your polar alignment.
You need an extra piece of equipment to perform this task, an "illuminated reticule eyepiece." This is an eyepiece that has either a cross etched into the lens or thin wires forming a cross. These are illuminated by a faint bulb inside the eyepiece. They can be bought from most astronomical suppliers.
To start, identify a star that is roughly due south, or preferably a little to the left of due south and within 5 degrees of declination from the celestial equator (the celestial equator is the extension onto the sky of our own equator). Center this star in the field of view of the telescope so that it lies on the illuminated cross. Now, using the slow motion controls of the telescope, move it east and west in right ascension. Adjust the illuminated eyepiece so one axis of the cross follows that line and the star moves slowly back and forth along it. With the motor running, observe how the star moves, ignoring any left-right movement, just looking at up and down.
If it moves down, the polar axis of the telescope is too far to the west (or to the left of Polaris). If it moves up, the polar axis of the telescope is too far to the east (or to the right of Polaris).
Using the mount’s azimuth adjustments, make appropriate changes to correct. Now re-center the star and perform the same step again. It will take a few attempts but eventually there will be zero drift up or down for a good 5 minutes or more.
Now find a star near the eastern horizon, ideally it should be 20 degrees above the horizon, no more and fairly close to the celestial equator. Center it on the cross like before and align the cross so that east-west right ascension movement takes the star along one axis of the cross. Now monitor the star (with the motor still running).
If it drifts down, the polar axis of the telescope is too low. If it drifts up, the polar axis of the telescope is too high. (Note: if you don’t have a good eastern horizon, a star in the western horizon will work fine but the notes above regarding adjustments required will need to be swapped.)
Make adjustments to the elevation of the polar axis as appropriate, re-center the star and check the drift again. Once drift is eliminated, go back and check with the star due south and once that has been rechecked, your telescope will be very accurately polar aligned and objects will stay in the center of the eyepiece or more importantly your camera.
Take the time to really nail this and get it accurately polar aligned and with some practice you will achieve alignment with incredible accuracy. If you want to increase your accuracy and the speed of the process, insert a Barlow lens (which usually doubles or triples the magnification of the eyepiece) so drift will be noticeable much quicker. You will also be able to polar align to a greater accuracy. With my telescope, I can get a star centered with a magnification of about x200 and it stays there for about 10 minutes! That's good enough for me.(Mar 3, 2014 01:44 PM ET // by Mark Thompson)